When a visitor lands on your WordPress website, what is your first goal? It is simple; the page should load lightning fast and work smoother. Slow-loading websites not only frustrate visitors but also affect the search engine ranking and ultimately lead to losing conversions.
Therefore, high-speed website loading is inevitable in 2025. If you are someone looking to speed up your WordPress website, we have good news for you. Apart from the general setting in WordPress and optimizing your website, there is a complementary way to boost your WordPress speed, and that is server-side caching.
At Veda Web Host, many customers often come with one common question
“Why does my WordPress website feel slow even though I am using a good plugin and theme and doing everything possible to make my website speedier?”
And when we ask them about server-side caching, they either don’t know about it or have not configured it for their site.
So, here in this article, we are breaking down step-by-step everything about server-side caching and how to use it to boost your WordPress speed.
How typically a WordPress Loads (Without Caching)
Before we understand how to speed up your WordPress site with server-side caching, let us first understand what happens where there is no caching in place. How WordPress works without any caching:
- First, visitors request a page by clicking on your website link or typing site’s address in their browser
- WordPress retrieves information from the database, including settings, images, and posts, upon request. This is known as PHP scripts processing
- The server then receives the request and sends information from the MySQL database according to the requested content.
- Once the requested data is retrieved, WordPress combines the theme, HTML, plugins, and content into a complete page, and then finally visitors see the complete site as requested on their browsers.
This process is repeated for every visitor whenever they try to access a website. Even if someone loads the same page multiple times, this process gets repeated every time.
What is server-side caching?
Now that we have understood the typical process of WordPress website loading, let us understand server-side caching and where it fits in the process.
Server-side caching simply means that the server will remember a ready-made version of the web page so that it does not have to load everything from scratch.
So, when a visitor requests a webpage, the server does not run PHP scripts and database queries but just sends a cached HTML copy that was previously saved.
It is like a food recipe; you cook a certain kind of sandwich today and now you have two options: either you prepare the sandwich again from scratch for next time or keep an extra piece of sandwich for near use. The second option will be more feasible for you, as it will save your time and make the process easier, right? So is the cache with server-side caching.
Thus, this Server-side caching feature drastically reduces
- Server processing, database load, and page load times by eliminating two major steps PHP script processing and Database queries
Types of Server-side Caching for WordPress
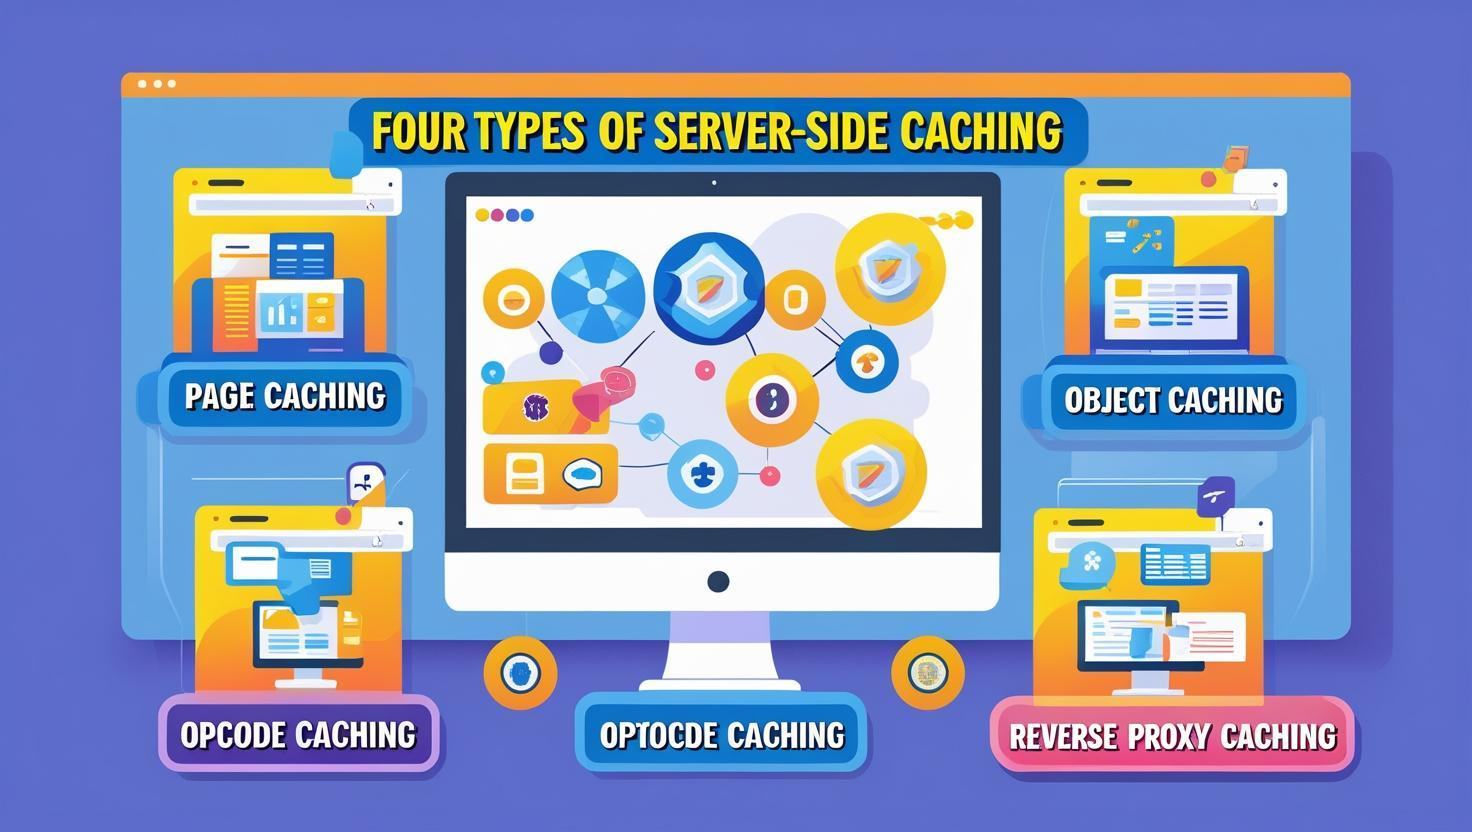
There are different kinds of server-side caching options available for WordPress that can be implemented easily. Here are some of the most important ones that every WordPress beginner should know:
Page Caching:
This kind of server-side caching is most common and widely used in WordPress. It is used to cache the entire specific page. For example, if you set up this caching for your homepage, every time a visitor accesses your homepage, they will see the pre-built page without hitting the database for information.
Object Caching:
Caching the entire webpage is not possible with dynamic WordPress sites that keep changing frequently. In that situation, object caching can be quite useful. It allows you to cache a certain kind of specific query result. So, instead of caching the whole page, it will save specific information of the page.
For example, your e-commerce website has a section called “Top selling products.” This section can be cached so that it does not load every time from scratch but loads with cached information immediately.
In a normal situation without opcode caching, whenever a visitor requests the website, the server runs PHP scripts, parses them, and finally, after compiling, executes the code.
Reverse Proxy Caching
Reverse proxy caching is like a middleman between visitors and your web server, storing information from frequently accessed content by visitors. The reverse proxy first looks through its cache before responding to a visitor’s request for a webpage or information. If information is available and up-to-date there, it is delivered directly without the entire process of WordPress loading.
Why server-side caching is better than using plugins for caching
There are many plugins available in WordPress for server-side caching that allow you to cache the information, like W3 Total Cache or WP Super Cache. These plugins help make your site a little bit speedier, but server-side caching is generally a more efficient and faster experience.
- It runs even before WordPress loads, while plugins depends on WordPress to start
- Due to server-level management of the request, the server load is significantly decreased.
- It works for all CMS and custom sites efficiently, including WordPress while plugins are designed for specific CMS
How Server-side Caching really Speeds Up WordPress
We can understand the difference between cached and non-cached WordPress sites on the following three KPIs (key performance indicators):
| KPI Name | Without Caching | With Caching |
| Page Generation Time | Around 500 to 1000 ms (or more under load) | Around 50 to ms |
| Database Queries | 20 to 100+ per page | 0 (for Cache pages) |
| CPU usage | High | Minimal |
Thus, your visitors enjoy a 5-10x faster experience with server-side caching and the server can handle far more traffic without slowing down.
Step-by-Step Setting Up Server-Side Caching for WordPress

Now that you know everything about server-side caching and how it works and speeds up the WordPress website, let’s get into the practical part: How can you set up server-side caching for your WordPress website step-by-step?
Step 1: Check if your hosting support it
Before doing anything, the first thing you need to do is check if your web hosting plan includes the server-side caching feature or not.
Many shared hosting providers either:
- Have no server-level caching at all or
- Offer it but don’t enable it by default
At VedaWebHost hosting, caching can be enabled directly from the control panel without any complex setup process. Anyway, if your hosting plan includes server-side caching, that’s good news; your step 1 is done. But if your hosting does not include it, you might have to consider changing the plan or server provider.
Step 2: Go to the hosting control panel and enable caching.
Once you confirm the availability of the feature, go to your server control panel (like cPanel, DirectAdmin, or even a custom hosting dashboard) and look for terms like
- Cache
- LiteSpeed Cache
- Nginx Caching
- Varnish Cache
- Page Cache
Toggle the setting on to access the available option.
Step 3: Configure the Cache Settings
Though you have enabled the caching for your WordPress website, you still need to configure the cache setting for better usability and speed while also ensuring the updated content on the site.
There are two main settings; you must be sure to configure for your cache setting:
● Cache TTL (Time to Live):
You can specify how long the pages should be cached using this setting. For example, if you want to keep updating your website every 2 hours, you will set the Cache TTL to 2 hours (120 minutes)
- For blogs, the typical Cache TTL should be around 1 to 6 hours
- For news and dynamic websites, the Cache TTL should be around 5 to 30 minutes
● Purge rules:
The purge rules define which pages should be updated and cleared when new content is published. You can add the pages here that need to be updated and cleared with this server-side cache configuration.
Step 4: Test the website speed
You have successfully set up and configured the server-side Cache but here you also need to verify if your caching setting is working or not.
To test the speed of your WordPress website, you can use tools like
- GTmetrix
- Pingdom Tools
- PageSpeed insights
Or any other tools that can measure your website loading speed accurately.
Step 5: Combine with a plugin (Optional)
Server-side caching is the best way to speed up your WordPress website but combining it with a lightweight caching plugin will enhance the speed even more and bring some more features to your website, like
- Browser Caching to load the website even without any hosting and server involvement
- CDN integration
- HTML/JS/CSS minification to boost the speed of the compilation and execution of these codes
Common mistakes to avoid in server-side caching
When WordPress beginners enable and configure server-side caching, they often commit some common mistakes that must be carefully neglected; otherwise, they bring functional issues to the website. Here are some of them and what you need to know about them:
1. Caching dynamic and user-specific pages
At Veda Web Host, we often come up with cases where users cache dynamic and user-sensitive pages as well to make the speed ultra fast. It should be strictly avoided to cache pages that are:
- That are Being updated frequently, and
- That contains user-specific information like My Account.
Caching these pages may result in incorrect information and error experiences
2. Setting up cache TTL time for frequently updating website
For dynamic webpages, the TTL should be lower, a maximum of 30 minutes to 1 hour depending on the frequency of content updates. To avoid this mistake, you should match the TTL with the content update frequency of your website.
3. Not Purging caches after major changes
It is crucial to purge and clear all the caches every time after major changes in your website; otherwise, visitors will see the older webpage content. For example, if you make some major changes to your web design but forget to purge the caches, your visitors will still see the older webpage and miss the new updates.
Conclusion
For WordPress beginners, server-side caching is a simple yet effective way to speed up their WordPress website. It reduces loads on the server hosting and provides quicker load times and improved search engine rankings. Moreover, you can also use the Caching WordPress plugin to speed up the site but nothing actually beats the caching that happens at the server level.
Configuring the server-side caching is simple: Just go to your control panel setting, look for the Cache setting and then toggle it on. Though the process seems easier, you need to avoid some common mistakes mentioned above and set proper TTL with purging rules.
We at Veda Web Host offer hosting plans that come with built-in server-side caching. This caching feature is optimized for CMS like WordPress so that websites run at peak performance without any complex setup.
Visit our service page:
India cheap dedicated server
Dedicated Server india
 All Dedicated Servers
 USA Dedicated Server
 India Dedicated server
 Japan Dedicated Server
 Colombia Dedicated Server
 Italy Dedicated Server
 Turkey Dedicated Server
 Spain Dedicated Server
 Thailand Dedicated Server
 Greece Dedicated Server
 Norway Dedicated Server
 Finland Dedicated Server
 Taiwan Dedicated Server
 Australia Dedicated Server
 Germany Dedicated Server
 South korea Dedicated Server
 Hong Kong Dedicated Server
 Lithunia Dedicated Server
 Brazile Dedicated Servers
 UAE Dedicated Server
 RUSSIA VPS
 ISRAEL VPS
 Romania VPS
 MALAYSIA VPS
 Saudi Arabai VPS
 NETHERLAND VPS